Monday, December 26, 2016

Chocolate Popcorn


Hey guys! How was everyone's Christmas? Mine was actually okay, which was a nice change. Anyhow, enough about disfunctionality, I have a yummy idea for you guys to try.

Like me, you probably have excess amounts of chocolate around your house in this aftermath of Christmas. Mine mostly came from my stocking, but I'm sure ya'll have lots leftover from previous baking projects. Well, get ready to start melting, because I have the perfect way to use all that up: chocolaty popcorn. Here's how to make it :


Ingredients and Supplies

-popcorn
-chocolate (milk or dark, but not baking chocolate)
-cooking oil (I used olive oil)
-milk
-salt
-pretzels (optional)
-decorations (like sprinkles, candy, etc...)
-parchment paper
-two pans
-metal or glass bowl

Instructions

Step One: Put enough popcorn kernels and olive oil into a pot to just cover the bottom. Cover with a lid, then turn burner to medium heat and wait for the kernels to start poppin'. You can also use microwave popcorn, but make sure you use the non-buttered kind.


Place popped popcorn in a bowl to cool before placing on a sheet of parchment paper.


Step Two: Fill another pot about a third of the way with water and boil. Once the water is boiled, place a metal or glass bowl over the boiling water and turn the stove temperature to between low and medium heat. Place chocolate and about a tablespoon or two of milk in the bowl and begin stirring; don't stop stirring, or else the chocolate will go tacky and not liquidy. Keep adding a little bit of milk every so often in order to keep the chocolate liquidy. Once the chocolate is near the desired consistency, turn off the stove and keep stirring until the chocolate is liquidy enough to drizzle.


Step Three: Salt popcorn spread out on parchment paper. I decided to add pretzels at the last minute, but you don't have to. 


Now take a spoon and drizzle chocolate over your popcorn. Add a little more salt after if so desired.


Step Four: Decorate! I used Christmas sprinkles, Wilton sparkle gel, and York mini peppermint patties.


And you're done! Here's my finished product


I hope you guys enjoy making this. This is about the third or fourth time I've made it this December, and I really enjoy the process as well as the eating. If you hate baking like me, you should try making this; it's actually not frustrating :) Anyways, I hope ya'll had a Merry Christmas, and I wish you the best New Year!

k, bye.


Friday, December 9, 2016

Oh, To Be a Kid Again

"When I grow up [grow up, grow up], I wanna be a kid [be a kid]."

If any of you know where that lyric is from, can we please be best friends? And, for those of you that don't know, it's the first line of the chorus of a Mary-Kate and Ashley Olsen movie song- specifically their mall adventure. During this song, the twins and their friends are going from toy store to toy store, singing this Peter Pan-esque song about never wanting to grow up. This song has come back to me time and again over the past week or so.

Along with this song, many other images from my childhood have come to mind. It's almost as if my life is flashing before my eyes, as it would if I were dying, although I surely am not. I am, however, yearning for the simpler times, due to some recent adult stresses, which I will divulge at a later time once I become more comfortable. But anyways, I have been reminiscing about school field trips, middle school, riding the bus, and the first time I received a B, all the way back in fourth grade. I have been reliving my life in my mind because my current state of life has become harder and harder to live.

I've been trying to remember what it was like to think as a child and view the world from an adolescent point of view, and I've discovered that I cannot. I cannot go back in time, as I so desperately want to; I can only go forward.

However, I have discovered ways to visit the past, and they have been most beneficial and rewarding that I hope you'll try them with me:


  • Reading: I haven't read a book cover to cover (that wasn't for school) in such a long time, I honestly can't remember the last non-academic volume I read. So I have decided to read. I have read old favorites that always bring me great comfort; I have read self-help books for my current adult woes; and I've read more of the Bible over the past two weeks than I have my entire life (sad but true). Through all this reading, I have grown closer to God and myself, trying more and more to be comfortable with silence. Who knew that getting away from the distractions of the world and getting in touch with your inner child would bring one closer to God. Oh wait...


  • Coloring: And I don't mean those fancy-smancy adult coloring books; I mean good old-fashioned coloring, with a basket of crayons and a big fat picture of a duck. I got so into it, I colored two dollar store children's coloring books and have now started to create my own coloring pages. I am no artist by any means (when I found out I wasn't required to take art in high school, I leapt for joy), but coloring has been extremely calming and nostalgic. 


  • Listening to Tapes: Yeah, you read that right- tapes, cassette tapes. Ever since I was born, I've been listening to a radio theatre program called Adventures in Odyssey. I got away from listening to it this past year, so when I decided to revisit my childhood, this was one of my first stops. The stories are so comforting and familiar, the lessons so relevant to my life (even though they are aimed at younger audiences), I have not regretted trading in binge watching Netflix for these. Although I have now broken the tape player and had to switch to CD's, I still prefer this over a television program these days.


  • Loom Knitting: This is a craft I learned in sixth grade craft club, and one for which I earned second prize at the county fair. I haven't loom knitted since sixth grade, so I was afraid that it would be a bust. But, surprisingly, the skill came back to me with ease (now if only my dormant needle knitting skills would come back to me so easily). I even taught myself a new technique and finished a scarf within a few days. Crafting and creating are things I've wanted to get back to for ages but foolishly kept putting off in favor of watching Youtube or checking Twitter. I can't wait to conquer other crafts that I've always wanted to, like knitting a sweater and sewing a quilt.
I do want to say I didn't do all this time travelling just for the sake of nostalgia. For some time now, I have realized that my overuse and oftentimes abuse of technology was hurting my life. It wasn't until recently that I realized how much. My journey to childhood me was my way of returning to simpler times, to allow my mind to detox from all the tech entertainment it had consumed. And I can say without a shadow of a doubt that my strategy has enriched my life greatly. So much so that I have decided to give up entertainment technology for good, sort of. I still watched the new Gilmore Girls in November, and I have another favorite show of mine that I'd like to catch up on. 

But this detox from technology has helped me realize my priorities. I was so addicted to technology that I couldn't do and create all the tings I wanted to do and create. I lived in a fantasy world to protect me from the stresses of everyday life. And now, as I fight my way out of that fantasy world, I write to you some simple advice from the journey back: don't be afraid to be a kid again. I don't care if someone tells you you're being immature or that you're afraid to grow up. Allow yourself to enjoy the simple pleasures of being a kid again. Childhood is the safest escape from adulthood that I know of, and I strongly recommend.  

k, bye.


Wednesday, November 23, 2016

#OOTD: Overall Inspiration

I don't mean overall as in complete; I mean overall as in the clothing item overalls. Y'know, these things:


Okay, okay, I milked that play on words for far too long. For this first #OOTD post, I put together different outfits with overalls as the base, each with a distinct personality. So, let us get onto the outfits, shall we?


Rocker-ish: I like to think of this outfit as a rocker-adjacent type. I paired my overalls with a muscle tank that has some cute detailing, a long green sweater, and a chandelier looking choker necklace. With some black boots, this outfits makes me feel cool and confident. Yes, that is totally cringe and cliche, but it really is true.


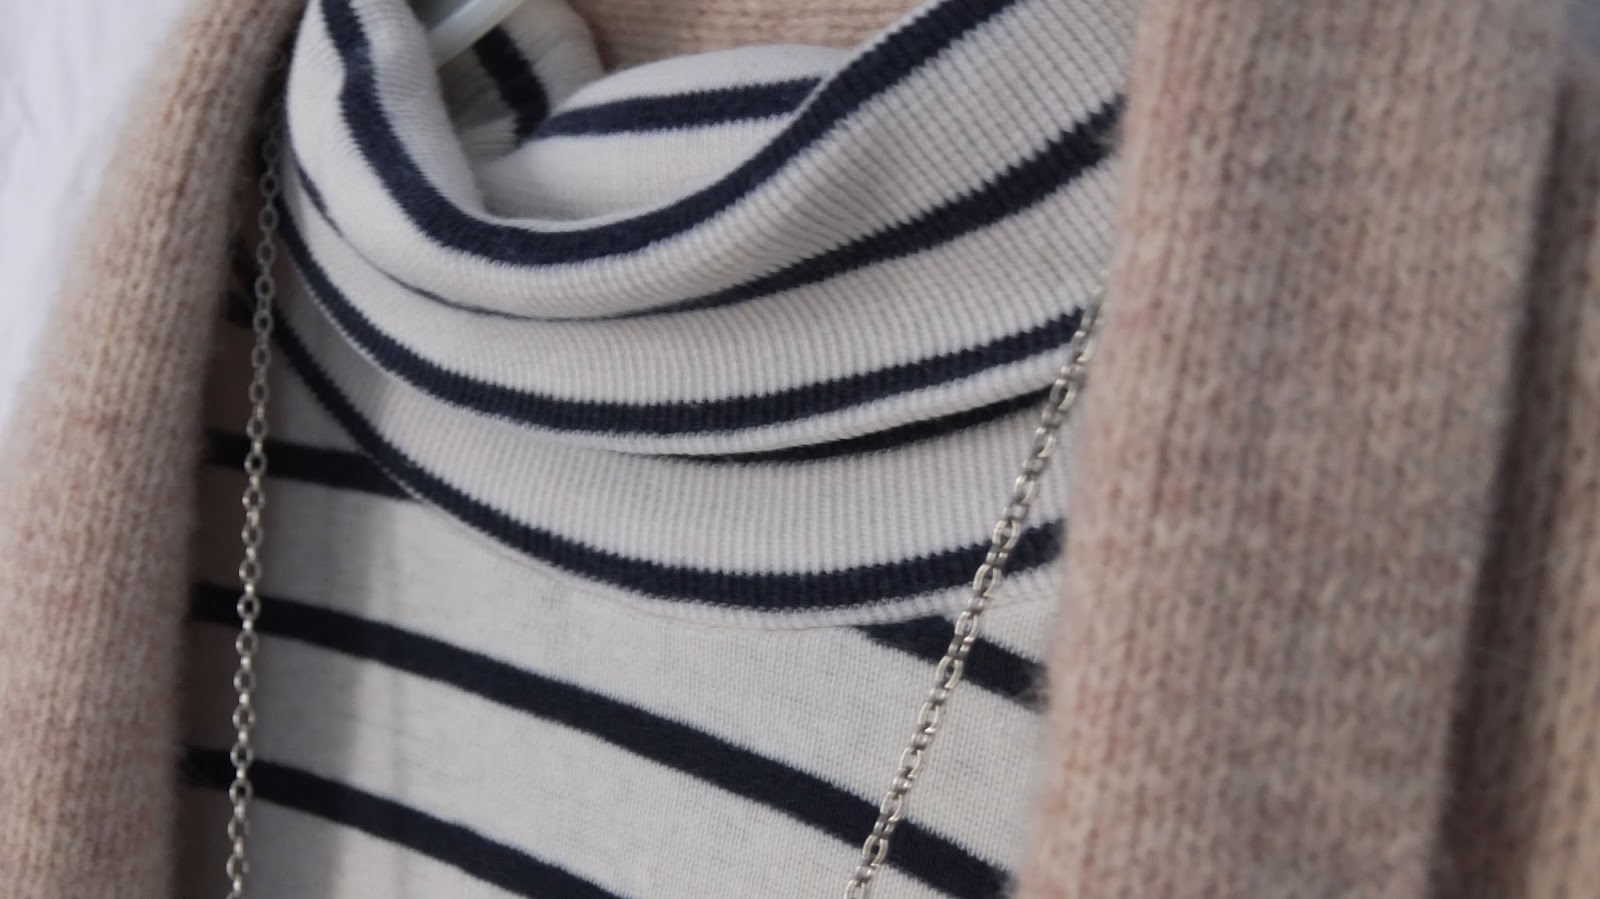
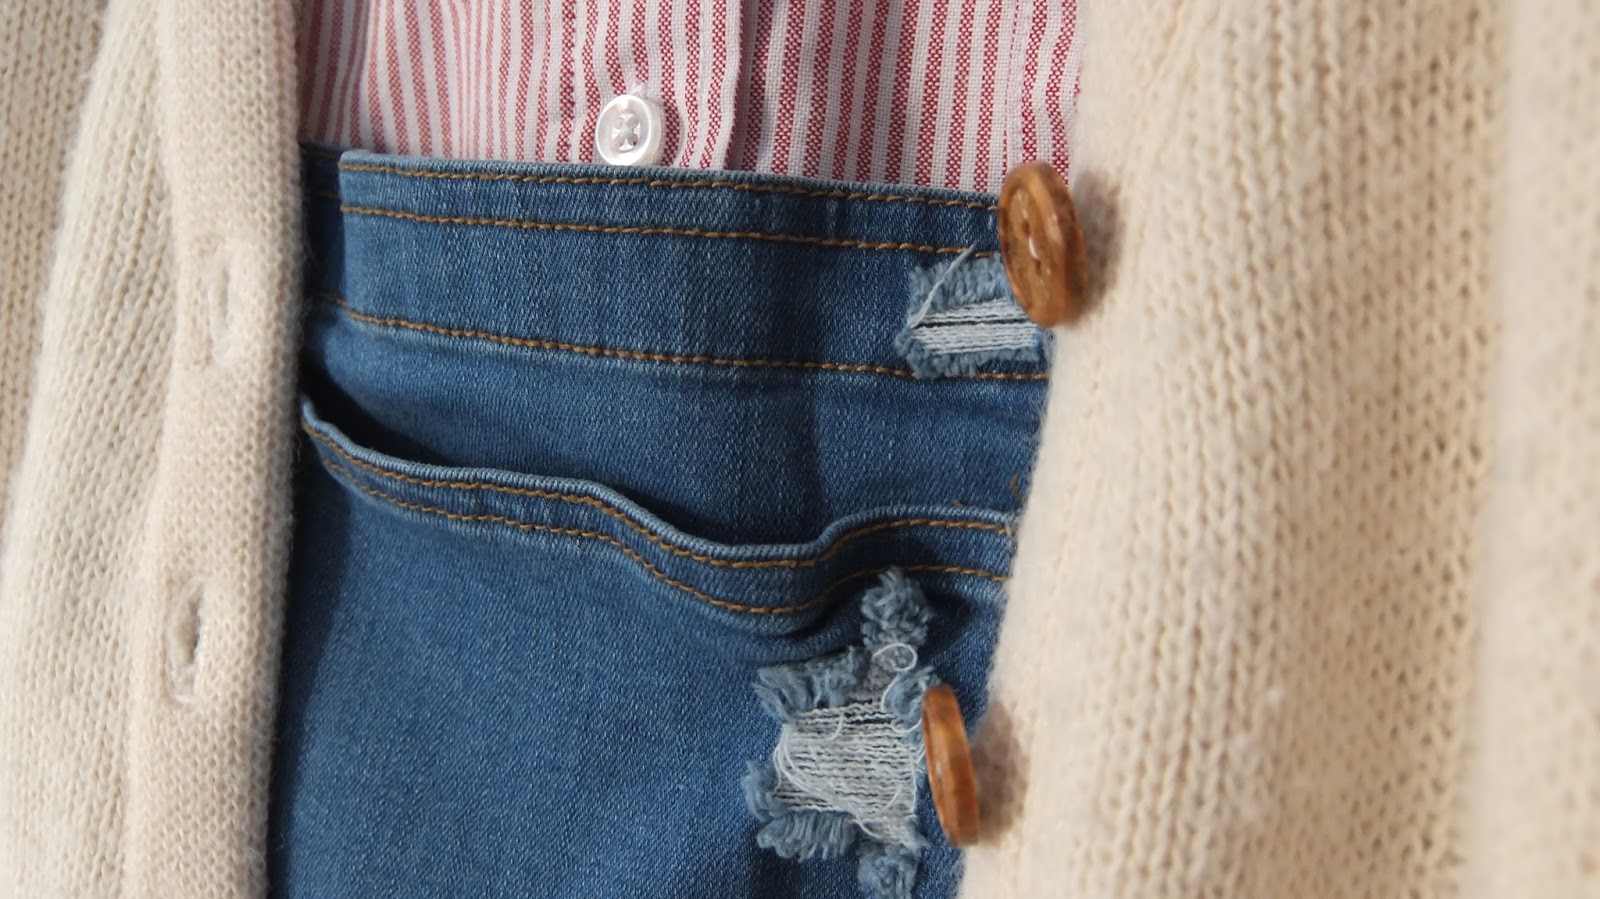
Super Cozy: If you're like me during the winter months and are cold 95% of the time, this outfit is definitely for you. With my overalls, I layered a blue striped turtle neck, an oversized cream wool sweater, and a long owl necklace. If you're wearing this outfit outside, though, I would recommend trading the necklace for a scarf.


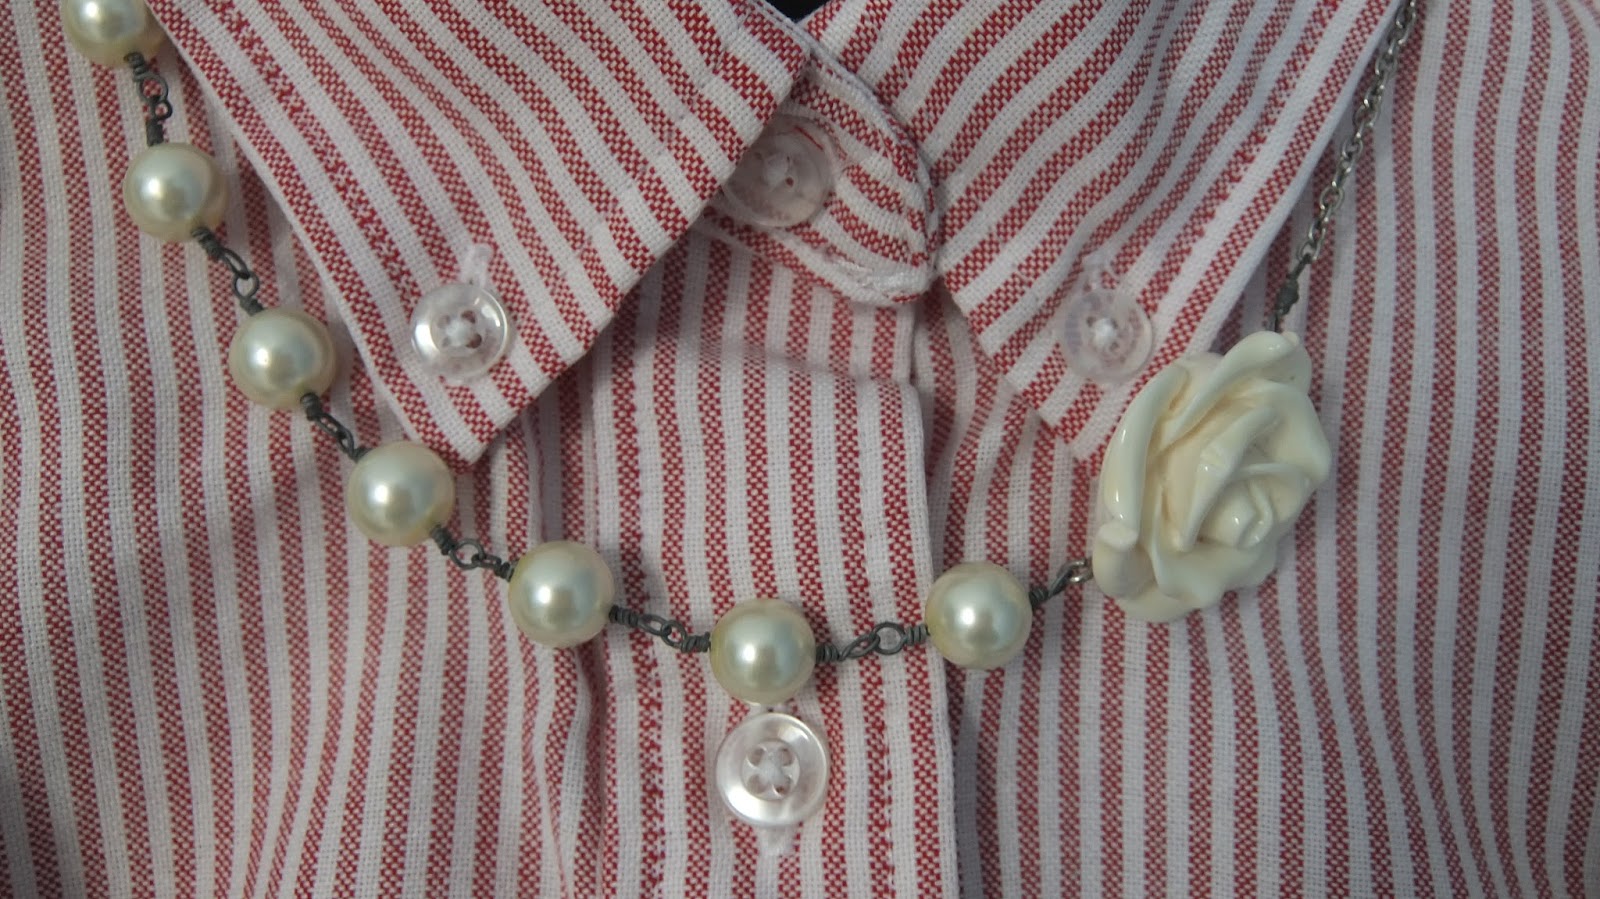
Preppy Farm Girl: I usually don't like to wear collared shirts with overalls because it makes me feel like I'm dressing up as a farmer, but in this case, I think it works. With my overalls, I layered a pin striped collared shirt buttoned all the way, a knitted vest, and a short pearl necklace. This outfit is definitely cozy, but it is also is fairly sophisticated.


Fall-Splosion: I think this outfit just looks like fall threw up on you (apologies for the gross mental image). This time, I paired a cowl neck green sweater and an orange and brown patterned scarf with my overalls. I'm wearing it right now while writing this, and I can affirm that it is definitely warm, and it makes me feel all put together.

Well, there you have it. Four outfits all with overalls as the main piece. I hope that this first #OOTD has given you some inspiration for your overalls, and, if you haven't warn them in a while, that you're excited to get them out again. 

k, bye.


Tuesday, November 15, 2016

I Can't Do Anything


I'd like to think I have a great imagination. It certainly was much better back in the day (y' know, when I was 9), but it still is pretty good. It's so good in fact that I rarely venture into reality.

When I was younger, my imagination served me in much the same way it does now. I was always imagining a different life for myself. Whether it was through my imaginary friend (whose name I can't remember- I'm such a terrible friend) or through books or Barbies, I never wanted to be myself or have the life that I did. I would print out pictures of houses I wanted my family and I to live in (before the advent of Pinterest), go to open houses, and watch the realtor channel on Sundays. When I read books, I would dream that I was a character in that story. I got so lost in stories that one time while taking a reading test in grade school, I was so involved in the stories in the test that when I was done and looked up, I was the last one to finish and I didn't feel as if any time had passed. Then at night, I would create fake boyfriends and perfect lives in my head as I lulled myself to sleep with my perfect dreams.

And now I am an adult, and I still have dreams. They're slightly different, but not by too much. I still make up fake boyfriends; I still cast myself in fictitious worlds other people have created, except now I don'y read as much, so I insert myself into movies and t.v. shows; and I still dream of having the perfect house. But now, I also dream of a college degree, a dream job, and getting married someday, having children. Since I am an adult, I am in the position to make those dreams a reality. The only problem is I'm still dreaming.

I've always been a perfectionist. With that statement, you may be thinking, "Girl, since you're a perfectionist, you have all the drive in the world to follow your passions and bring your dreams to life." At least, that's what I always though a perfectionist was until about a year ago when I realized that perfectionists come in all shapes and sizes. I am the type of perfectionist who has such idealistic goals and dreams that I feel defeated before I even begin, and I don't try to accomplish anything I want to accomplish. I'm always resistant to start something because I'm afraid that it won't come out as perfectly as I want it to, so I don't begin that project or that class or that application. And that is a constant source of depression and regret for me.

There are so many things I want to accomplish in this life: I want to knit a hat, work for a non profit, be involved in a great church, explore Europe, etc. etc. But the way I view my life right now and what I am capable of doing, I don't think I can do any of those things. The paralyzing fear of it not turning out as it does in my head (plus my general anxiety disorder) is what keeps me trapped in my bed writing this, while my roommate is getting ready to go out and accomplish all she wants to in life. I wish I could be her.

I hope someday I will be able to work through this so I can become all that I want to become. Until then, thank you for reading this. It probably wasn't very entertaining or well written, but I found it extremely therapeutic, so thank you for being an audience for my therapy session. If you can relate to any of this at all, I would love to know; we can bond in the comments over all the things in life we're missing out on (she said with an awkward and slightly bitter laugh).

k, bye.


Saturday, October 29, 2016

The Wheel on the Bike...

In church, my pastor likes to use a bike wheel to illustrate the human heart. And as corny and cheesy as it is, it's totally #relatable (ok, ok, I'm done).


When I was a freshman in high school, I went on an all girls youth group retreat. On one of the nights, we had a reflect-able craft making session. What we were asked to do was decorate a canvas heart we were given with colors, stickers, drawings, and whatever else to represent what was at the core of out being. So, I began to fill the heart, making a mess as per usual, and taking the assignment seriously, as is my way. I filled the heart with music notes, crafty bits, among other things (I don't have the heart anymore, so this is all taken from my shoddy memory). And just as I was about done, I was like, "Oh crap, I'm at a church retreat and I forgot to add Jesus." So I added the name Jesus in the corner of my heart, just as one of the leaders came behind me to look at what I had created. I remember feeling as if I had been caught, like I had done something wrong. And although right and wrong are relative terms these days, I knew I had done something wrong by not placing Jesus' name in the middle of my heart. But the problem was, the truth of the matter was that Jesus wasn't at the center of my heart. I was feeding my center with books and t.v. and anger.

I officially rededicated my life to Christ the summer before my sophomore year of high school. The funny thing is that it was sparked my a conversation/argument  I had with my brother about Christianity. What's funny about that is that he is an agnostic. I told him I was a Christian, he asked why, and I said it was because I believed in God, and then he said there had to be more to it than that. It wasn't until later that it all clicked and I realized he was right.

After I rededicated my life to Christ, the rest of that summer and the few months following were great. I was invested in youth group, reading my Bible, and praying, dutifully fulfilling my New Year's resolutions but for real this time. Then there came a period of time where I fell out of my good habits and was floating further and further away from Christ. And the sad part is I don't think I've ever gotten back to where I was that summer.

I've come close, though. The following summer, I went on a missions trip with a different youth group. I made some good friends and I was on a great spiritual high for about a month, and then it just faded away. I also don't have those friendships anymore; what a shock.

Bringing the timeline back to today, I am still far from God. I am still feeding my soul with books and t.v. and anger. And the scariest part is I almost don't care (take notice of that "almost"). I've let my circumstances overcome me. And instead of turning to God who should be at the center of my wheel, where I would get the most fulfillment and comfort, I turn to t.v. shows and ruminating in my bitterness.

I don't have a solution to this or a comforting final note. I really just needed to work it out by writing and getting it off my chest. I will say that this is something I want to work on this year, and I will try to make an actual effort instead of just saying what people want to hear, which is what I usually do. If you guys have anything to add, please do in the comment section below; I could really use the encouragement.

k, bye.

Thursday, September 22, 2016

Floor Pillows

I know it has been a while and a half since I have posted. Over the past two weeks, life has chewed me up, swallowed me, regurgitated me, and hit me over the head with a sledgehammer. That's a long winded way of saying I'm sorry for not being more active, but I promise I will definitely be more regularly active from here on out. I really enjoy writing these for you guys, and I appreciate the support.


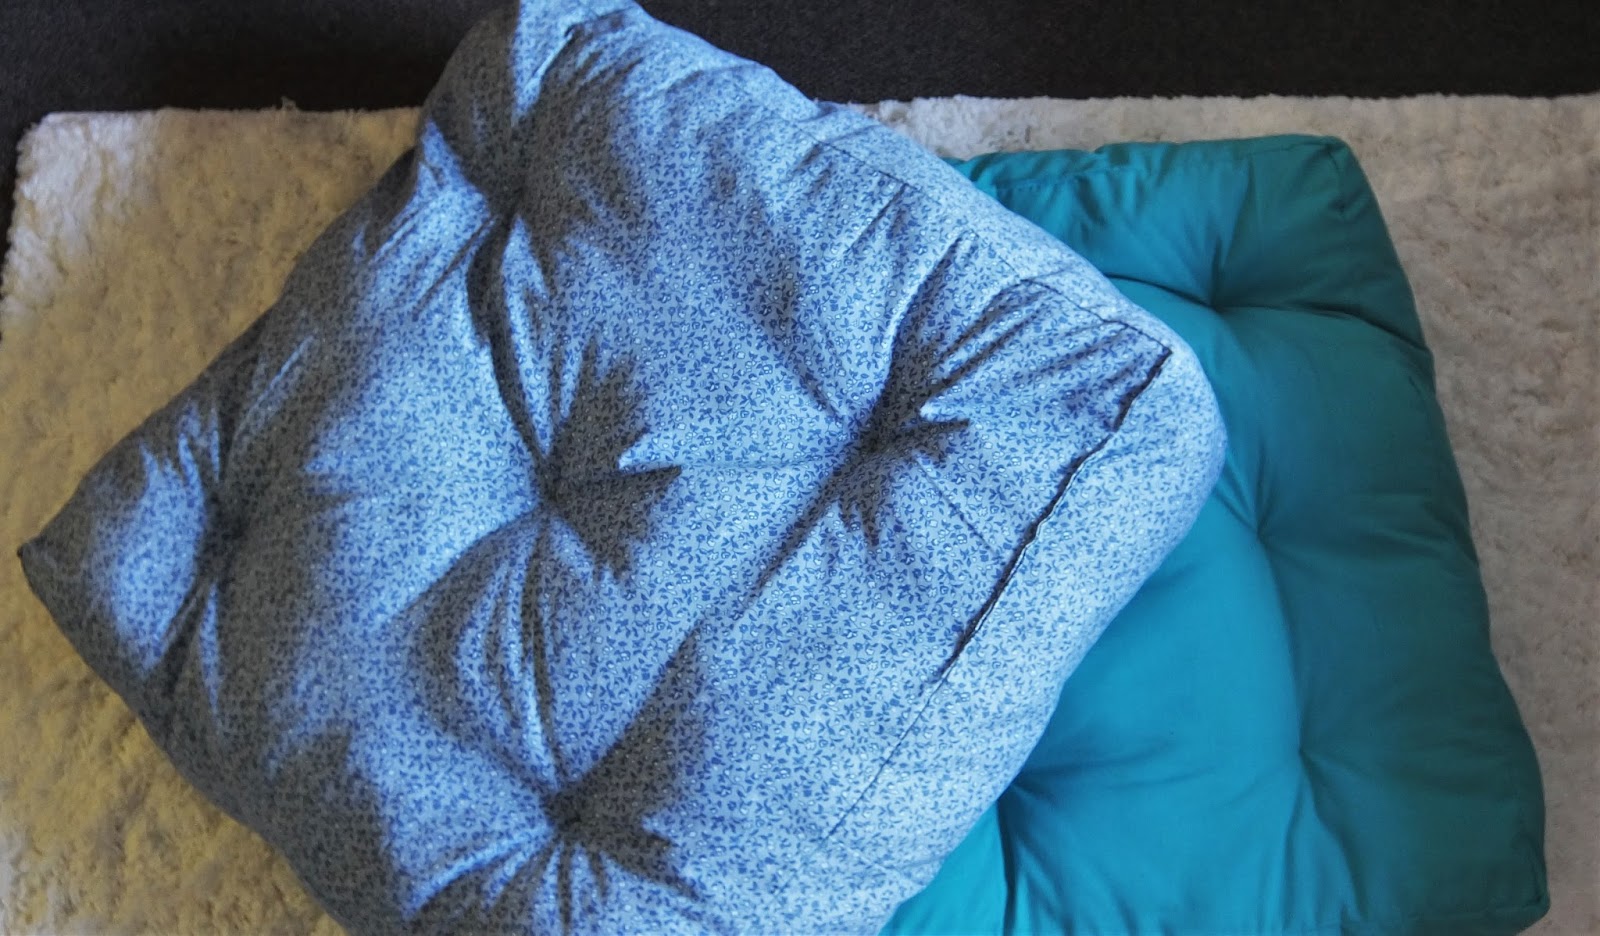
Anyways, I wanted to share these comfy and cute floor pillows I made with you. These are perfect for adding extra seating in a social space without having to buy actual chairs and furniture. These were super cheap for me to make because I used fabric, sewing supplies, and stuffing that my mom already had, and I only had to buy two extra bags of stuffing.

I don't have any pictures of the making process, so I'm just going to have to give you written directions.

First off, here is the list of materials:
1. Fabric (at least 3 yards-ish, and not too thick)
2. Thread
3. Sewing Machine and/or Sewing Needle
4. Sewing Pins
5. Fabric Scissors
6. Long Upholstery Needle
7. Upholstery Thread
8. Ruler
9. Chalk


Okay, first step is to measure your fabric. You'll want to measure two 30"x 30" squares. You can do this by using the chalk to draw your lines. After you measure the squares, cut them using sewing scissors. 

Next, you will want to measure a very long strip with dimensions of 122" x 9" (the extra 2" in the 122" is for sewing, and just in case you make a mistake. Lord knows I made quite a few). If you want to make your floor pillows thicker and gushier, you can make this strip wider than 9". Once that's all cut out, you are ready to start pinning. 


You will want to start pinning one side of one of the squares to the long side panel strip, wrong sides together. After you finish the first side, you are 25% there! Finish pinning all four sides of the square to the side panel, and you are ready to start sewing.

When sewing, use a straight stitch. I'm not going to instruct you on proper machine settings or anything like that because every machine is different. Plus, I'm in a love-hate relationship with mine, so I'm not the best person to help you guys get along with your sewing machines.


Once you finish sewing the first square to the side panel, do the same exact steps for the other square (pin wrong sides together, sew). When you're sewing this square, make sure to leave about 5" to 10" unsewn so that you can stuff it. I did one pillow leaving the extra space in the middle of a side and the other one on the end of a side. Both worked fine, so it's up to you where you have the unsewn space.

After everything is sewn together, turn the soon-to-be pillow inside out and start stuffing. I didn't stuff mine nearly as much as I should have, so when you are stuffing, if you think you have enough, add more. 

When completed with the stuffing, sew up your open space. You can either do this by hand, or have someone hold the pillow while you sew that space shut using your sewing machine. 


With this step completed, you're nearly there. Last step is to use the long upholstery needle and thread to create the cute little indent thingys in the pillow that make it look all pudgy and cute. 

What you need to do is thread the upholstery needle, using a generous amount of upholstery thread. Then, stick the needle in the pillow on one side where ever you want- I tried to do a 3x3 configuration. 

Once the needle is through on the other side, bring it back to the first side, cut the thread, and tie a knot as tight as you can. Do this for as many indents as you want (goodness, what are they actually called, though).


And now you are done! You created extra seating for probably around $20 (unless you didn't already own a sewing machine, then hopefully it'll pay for itself in the long run). I hope you guys recreate this project and have at least some fun doing it. I had about 60% fun and 40% frustration and anger. But it was all worth it in the end. 

If you do make these, I would love to see them. Tweet me pictures of your beautiful creations @fly__a__kite. 

Wow, I sounded so millennial and like such a blogger. Felt a little weird, to be honest, but the sentiment still stands. Anyways.

k, bye.


Thursday, September 1, 2016

Art Wall Inspiration


It's September! Once it's September, it begins to feel like it's actually fall, even though for a lot of people the weather does not reflect that mentality (AKA, it's probably still 80 degrees and freakin' humid). Anyways, it's a new month, which means the ambitious To Do lists are created, filled with projects we think, "yeah, I can get this done in 30 days." Well, I have a project that you can add to that list: an art wall.

For about a month, I have been collecting randoms bits from my clutter and buying cute wall decor from the shops in order to make my art wall idea come to fruition. I wanted to share my art wall with you so that (hopefully) you would be inspired to create your own.

DISCLAIMER: Now, I know that when I click on posts like this, I usually do not create the project because I want it to look exactly like the pictures. If you are like me in this way, I totally understand. However, I would still like to encourage you to try to make an art wall if you really want one, even if it doesn't look like everyone else's. Trust me, I know it's hard getting over wanting it to be perfect. But, if you make it personal to you, that's the best sort of project to create.

Anyways, on with the art wall inspo!


I got the mirrors from a discount store in town for only $5! They're pretty cheap, but they look cute, and no one can really tell their value from up on a wall anyhow. 


The verse on the left is actually the front of a gift bag that was only 50 cents. I just cut the verse from the bag, leaving the handle on that side intact, and then I hung the verse by the handle and used some tape on the back to keep it in place. 


The Toms banner is the one you get in the box when you but the shoes. I hung it up using hair ties because I forgot cute string. As for the bunting, I made that using twine (I think from the dollar store), and I made the flags from the bags that sheets come in when you first buy them (these in particular, the Shabby Chic sheets from Target). 


The hanging bobble lights are ones on clearance from Target. You know the magic clearance end caps at Target? I found these happenstance on one of those and they were only $5. Probably because they are tinted blue, but I like blue, so it's ok.


The fan is a Chinese fan that was a present from my best friend in third grade. I'm so glad I still have this; it brings back some great memories.


The cross up at the top is a present from a new but wonderful friend. It has that verse from Psalms that starts with "be still." It's a good one, that one.


And last but not least is the beautiful wreath in the middle. I made this last year from some materials in my mom's craft room. I used a metal ring wreath frame and some fake flowers that have most likely been in their box since before I existed. I stuck the flowers on with green florists tape and voila! The cute chalkboard sign in the center is from Target Dollar Spot, and I just thought "Hello!" was cute and appropriate. 

Well, that is all that is on my wall (hehe, I made a rhyme). I hope that you guys like it and that it gives you inspiration and hope for your own art wall. Pretty much everything on my wall is personal and my own. If I can make a decent looking art wall with craft room leftovers and bargain buys, you can totally do it. I mean, I hung my Toms sign up with hair ties! Anyways, good luck to you in your arty endeavors.

k, bye.